There is much to share with our beginning students. With limited lesson time, how do we maximize our results? Fortunately, the Primer Level presents three elements of pedagogy that have exponential value when taught in combination:
- introducing new notes with varied fingerings to develop note-reading skill
- utilizing arm weight for tone production and technique development
- using a braced third finger for rounded hand shape and firm fingertip
While each element has a unique function, the three concepts reinforce each other in synergistic fashion when the teacher conscientiously integrates them.
Varied Fingering
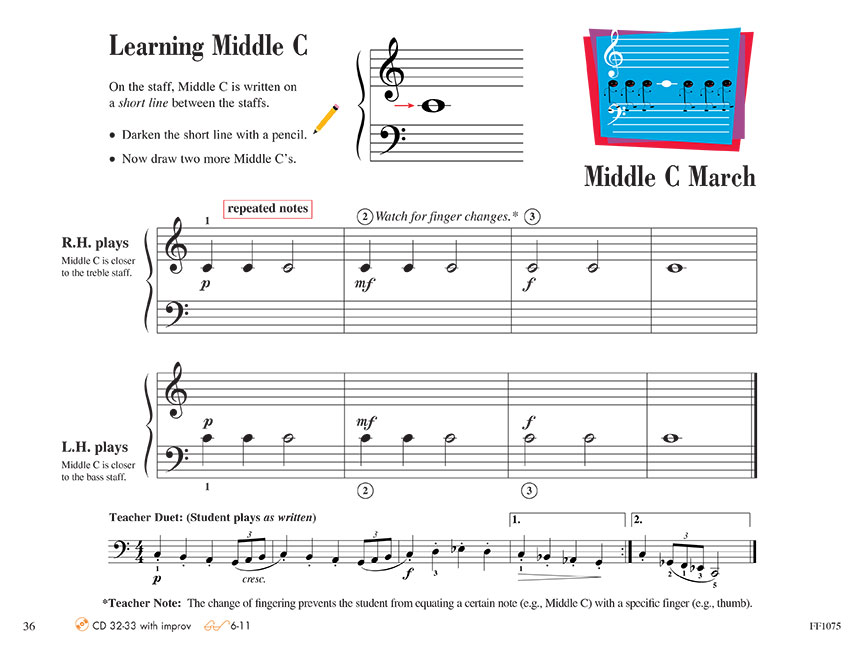
One of the hallmark features of Piano Adventures® is the introduction of new notes using varied fingerings. This allows us to teach a specified set of notes without a fixed, preset hand position. Middle C March, for example, introduces Middle C as played by fingers 1, 2, then 3. Consequently, the student does not equate Middle C with finger 1.
Treble G, the next note introduced, is played with finger 3 as often as with finger 5. Similarly, Bass F is played by LH finger 3 in upcoming songs, as well as with finger 5. Using this varied fingering enhances note recognition and prevents equating a finger number with a given note. In addition, varied fingering has technical value when related to the concept of arm weight.
Arm Weight
The Primer Technique & Artistry Book introduces arm weight as Technique Secret 4, using an exercise called Heavy Wet Ropes. The student experiences the feeling of heavy arms by imagining them as waterlogged ropes. The release of heavy arms into the lap gives the sense of dead weight.
The ability to release the weight of the arm into the keyboard is essential. Failure to use arm weight in piano playing places excessive burden on the fingers. Instead of over-taxing the finger muscles and tendons (with the risk of inuring physical problems like tendinitis), the pianist should use gravity efficiently to overcome the weight of the key. The weight of the arm can be dropped, thrust, tossed, balanced on the fingertips, and transferred finger to finger. This effective handling of arm weight forms the basis for good tone production and an effortless, virtuoso technique.
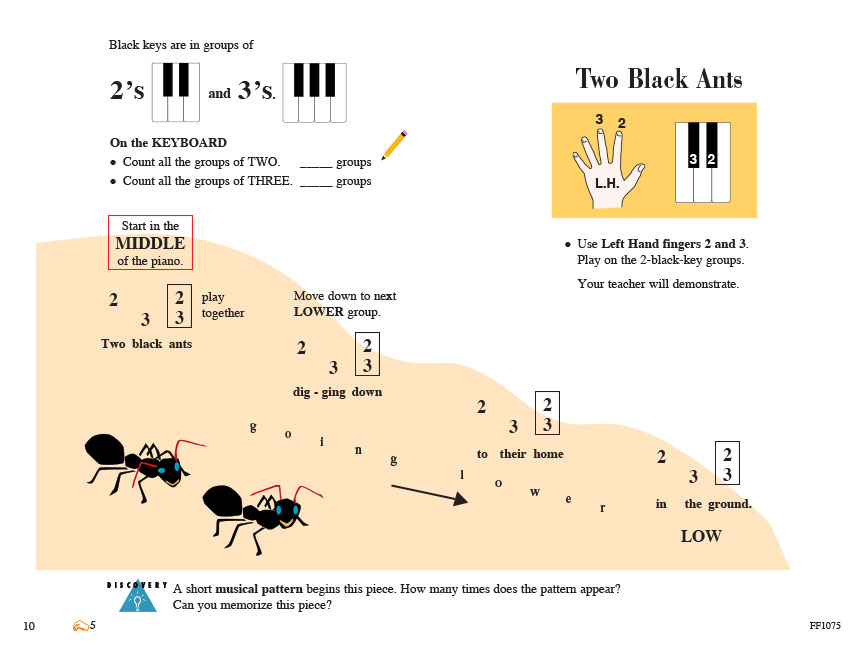
There is ample opportunity to apply the concept of arm weight in the Primer Lesson book, beginning with the pre-reading pieces that traverse the range of the keyboard. In each of these, a brief pattern is initiated with a drop of arm weight, and is finished with a lift of the hand that initiates a new drop into the next octave.
The Old Clock is played using a steady, rhythmic drop of arm weight into alternating arms: right-left right-left. This delivers a strong sense of pulse and puts the student in touch with the larger motions of piano playing. All the Stars Are Shining in the Technique and Artistry book explores arm weight applied to a grand gesture and the implications of arm weight for dynamic change.
In discussing varied fingering, we observed the frequent use of finger 3 for a given note. Finger 3 invites a drop of arm weight. In contrast, fingers 1 and 5 tend to tense the hand and pull the wrist down. Finger 3 also promotes a tall knuckle, which itself carries the weight of the arm. Contrast this to fixed hand positions, which foster tension and minimize coordinated involvement of the arm.
Braced Finger 3
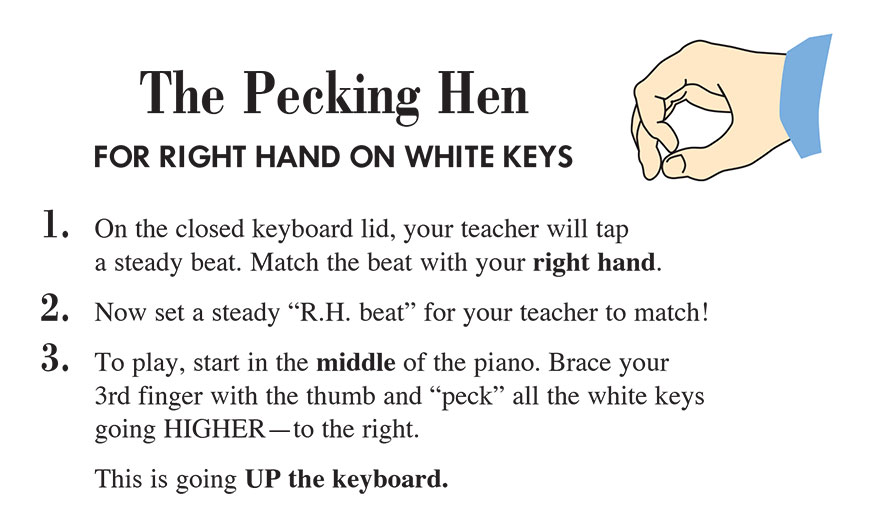
The thumb can be a useful brace for a flattened fingertip. Placed behind the tip of an offending finger, just below the last knuckle, the bracing thumb rounds the hand and firms a potentially collapsing fingertip. The student’s first activity at the keyboard occurs in the Lesson Book with The Pecking Hen and The Pecking Rooster. Here the braced finger 3 is used to round the hand as the student explores pitch direction—pecking higher, then lower, up and down the keyboard.
In the Technique & Artistry Book, the bracing technique is hinted at in Making O’s, the exercise for Technique Secret 3—firm fingertips. This drill accentuates a firm fingertip by bringing the thumb and each fingertip together, then looking for the “O.” With just a slight adjustment of the thumb, Making O’s becomes effectively synonymous with the braced finger technique of The Pecking Hen. Making O’s and the braced finger 3 reinforce each other to make the concepts of rounded hand shape and firm fingertip more vivid and the exercises more effective.
Integration
While varied fingering, use of arm weight, and the braced fingertip are each effective in individual context, these three concepts work together for great results.
To understand this integration, we need to explore the concept of alignment. When the arm, hand, and playing finger are in a straight line, arm weight can flow directly into the fingertip. If the playing finger and forearm show an angle at the wrist, there is a misalignment which breaks the distribution of arm weight. The tall knuckle and rounded hand shape facilitate use of arm weight by preventing a collapsed knuckle and collapsed wrist. The finishing touch is to align a tall knuckle over the playing finger to provide a platform for balancing the arm.
If this sounds esoteric, don’t be dismayed. The braced fingertip and/or Making O’s handle the issue of alignment beautifully. And it can be done on the keyboard—right when the problem occurs. If a fingertip collapses or the finger and arm appear out of alignment, ask the student to “Make an O” with the finger still on its key. Making an O not only curves the errant fingertip, but it brings the arm, wrist, hand, knuckle, and finger into alignment, restoring a balanced platform for arm weight.
We have seen that bracing finger 3 implicitly aligns the finger, hand, and arm. Thus a braced finger 3 is ideal for experiencing a drop of arm weight into the key. At the same time, the concept of varied fingering provides ample opportunity to use a braced finger 3. Notice the value, for example, of using finger 3 to kick off the downbeats in My Invention and The Dance Band. A braced finger 3 can be used here to ensure alignment and to increase the sensation of arm weight.
“Right” from the Beginning
It takes effort and concentration for the student to recognize and associate a note with its corresponding key—but much less effort than having to erase learned finger-number associations. It also takes effort and concentration to help a student balance arm, wrist, and finger in coordinated fashion—but much less effort than having to undo years of practiced tension. The creative combination of pedagogical elements in the Primer Level will help your students “get it right” the first time.
1 reply on “Synergy at the Primer Level”
Comments are closed


I’ve been teaching “My Invention” for 25 years and I am first learning about this marvelous alignment! Give me more! Thank you!
Sincerely,
Michele Eidensohn